

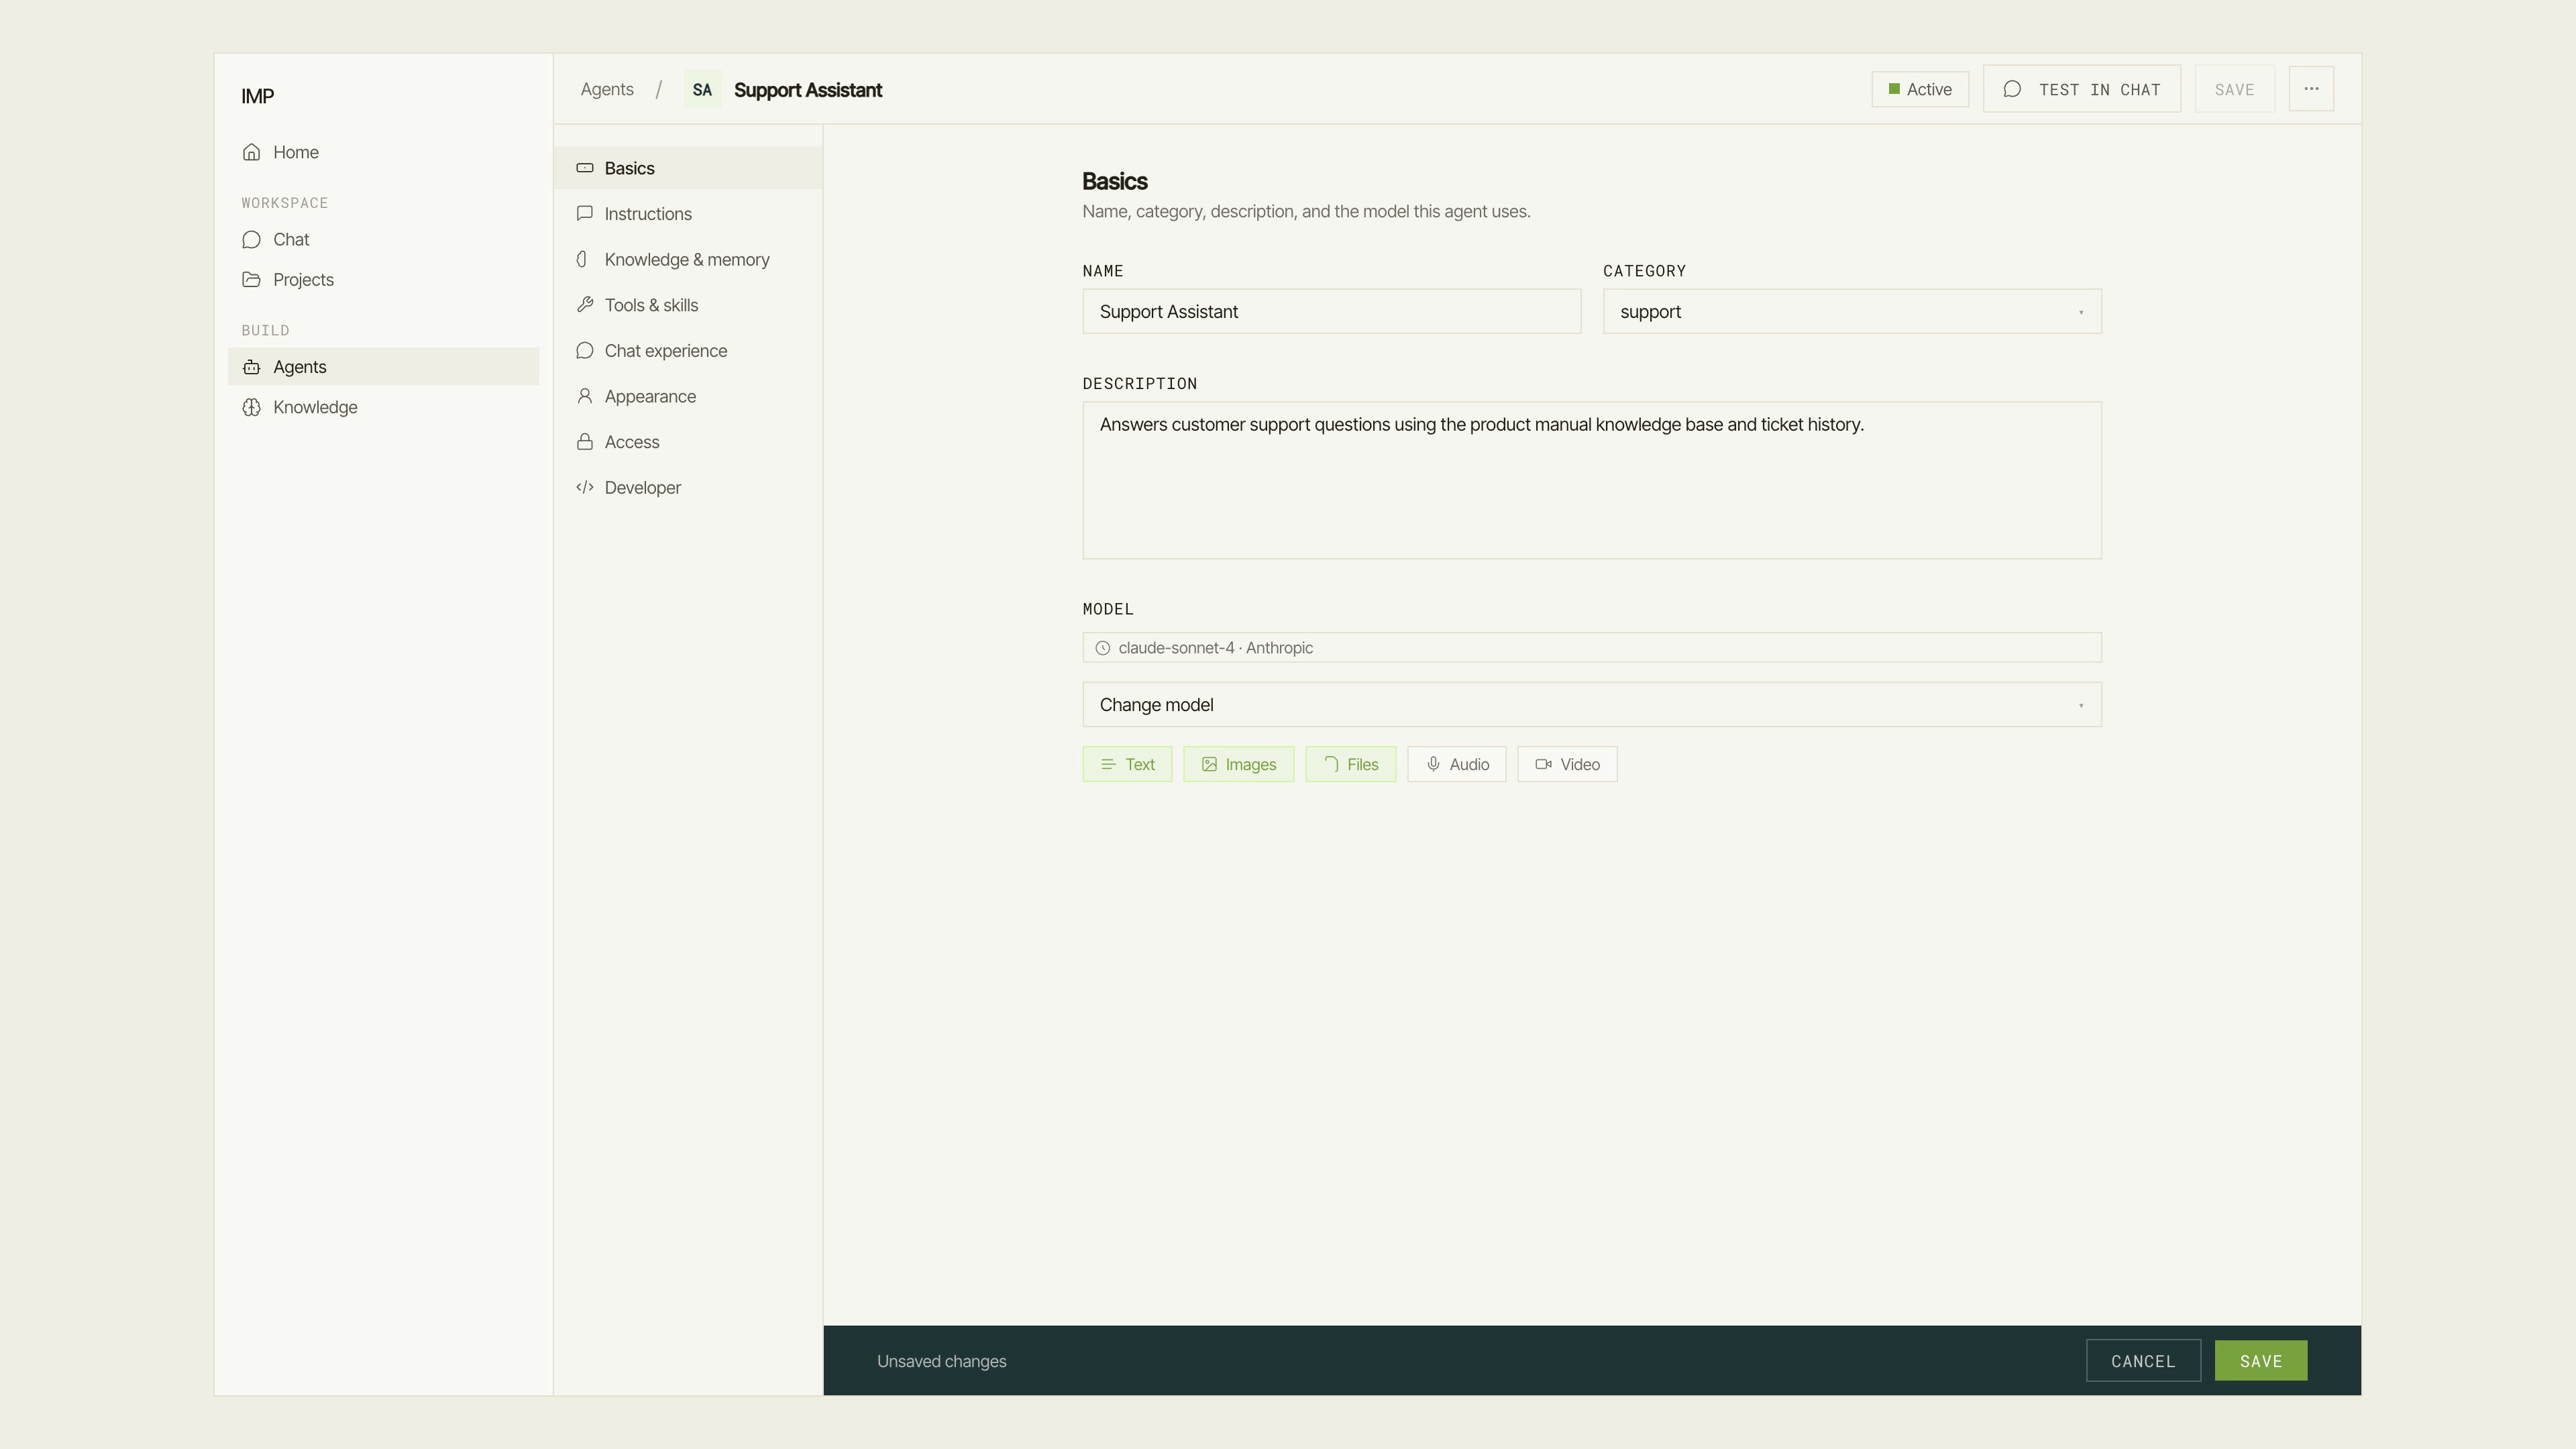
The agent workbench: section nav rail on the left, Basics form open, Save Bar at the bottom.
Opening the workbench
From the agents list, click any agent row to open its detail panel, then click Edit. You can also navigate directly to/agents/edit/{id}.
Header actions
The workbench header shows the agent’s name with a breadcrumb back to Agents. The action bar on the right has:- Active / Inactive toggle — flip the agent between active (available to users) and inactive (hidden from chat).
- Test in chat — opens a new conversation with this agent in
/chat/{id}/newso you can try changes without leaving the workbench. If you have unsaved edits, IMP prompts you to confirm before navigating. - Save — commits all staged changes. The Save Bar also appears at the viewport bottom whenever there are unsaved edits.
- Overflow menu (⋯) — Duplicate, Copy ID, Copy slug (when a slug is set), and Delete (destructive, requires typing a confirmation phrase).
Basics
The Basics section sets the agent’s identity and the model it uses.
Below the model selector, modality tiles (Text, Images, Files, Audio, Video) show which input types the selected model supports. Tap a tile to see the allowed MIME types.
Instructions
The Instructions section defines what the agent knows to do.- Custom instructions — the main markdown editor. Write system-prompt text here: persona, tone, task constraints, examples. Supports headings, lists, and code blocks. This is the primary place to shape agent behavior.
- System instructions (read-only, when set) — collapsed disclosure showing instructions injected by a developer via the backend SDK. You cannot edit these from the UI; they come from code.
- Prompt templates — a panel listing prompt templates assigned to this agent. Users can insert these from the chat composer’s + menu. Click Manage to open the prompt browser and add or remove templates.
Tools and skills
The Tools & skills section lists every tool and skill available on this deployment and lets you toggle them per agent.- Search — filter the tool list by name or description.
- Category filter — narrow by tool category.
- Expand all / Collapse all — control the accordion state of all category groups.
- Result count — shows how many tools are found (if filtered) or available.
Knowledge & memory
The Knowledge & memory section controls what the agent can retrieve and remember. Agentic retrieval (when theagentic_context_search tool is installed on this deployment): a toggle that enables a tool-loop retrieval mode. When enabled, the agent decides when to search and which knowledge bases to query. Enabling opens the Configure knowledge search wizard, which walks through Sources, Routing, Vocabulary, Memory, and Behavior steps. You can re-open the wizard at any time by clicking the summary card.
Long-term memory: a context combobox. Select a context to give the agent a personal memory store. When a context is selected, the agent gains a create_<context-name>_memory_item tool. Before saving, the agent asks the user whether the item should be private (visible only to that user) or public (shared across the organization). Set to “None” to disable memory. See Memory for how users interact with saved memories.
See Knowledge overview for how contexts, items, and embeddings work.
Chat experience
The Chat experience section controls what users see in the conversation.Access
The Access section controls who can chat with this agent. The RBAC control lets you choose one of four sharing modes:
Select a mode, then add the users or roles. Changes take effect after saving.
For a full guide to sharing and team-level access, see Access.
Guest access
The Guest access section lets you expose the agent to unauthenticated or lightly-authenticated visitors at a public URL (/public/agents/{id}).
Enable the toggle to turn on guest access. When enabled, choose one of three auth modes:
The section also shows the shareable public link and lets you set a per-agent spend budget (required before going public — a warning appears if no budget is set). You can also upload a cover image shown on the public landing page.
For full configuration details see Guest access.
When the agent firewall feature is enabled on your deployment, an additional Safety section appears in the editor.
Appearance
The Appearance section controls the agent’s visual identity.- Avatar — displays the current avatar image (or initial monogram if none is set). Click Generate avatar (when available on this deployment) to open the AI avatar generator: describe the look, choose a style, and apply the result. The generator produces a square image stored in your file storage.
- Idle animation — upload a Lottie JSON file that plays while the agent is waiting for input (S3-gated; only shown when S3 is configured). A preview appears after upload.
- Responding animation — upload a Lottie JSON that plays while the agent is generating a reply. Preview appears after upload.
Developer
The Developer section exposes integration identifiers and a ready-to-use API snippet.- Agent ID — the stable UUID for this agent. Copy it for use in API calls or backend configuration.
- Slug (when set) — the human-readable path component. Displayed as
agents/{slug}/run/{id}for easy copy-paste into URLs. - Endpoint — the full streaming endpoint URL for this agent, formed as
{BACKEND}/agents/{slug}/run/{id}. - curl snippet — a ready-to-run curl command that sends a test message to the endpoint.
- TypeScript snippet — an equivalent
fetchcall with typed headers and a streaming body reader.